Creating a ZIP file in Windows 11 is straightforward, as the functionality is built into the operating system. Follow these steps:
Steps to Create a ZIP File in Windows 11:
Method 1: Using the File Explorer Context Menu
-
Select Files/Folders to Compress:
- Navigate to the folder containing the files or folders you want to compress.
- Select one or more files or folders. To select multiple files, you can hold down the
Ctrl key while clicking each file, or use the Shift key to select a range.
-
Open the Context Menu:
- Right-click on any of the selected files or folders to open the context menu.
-
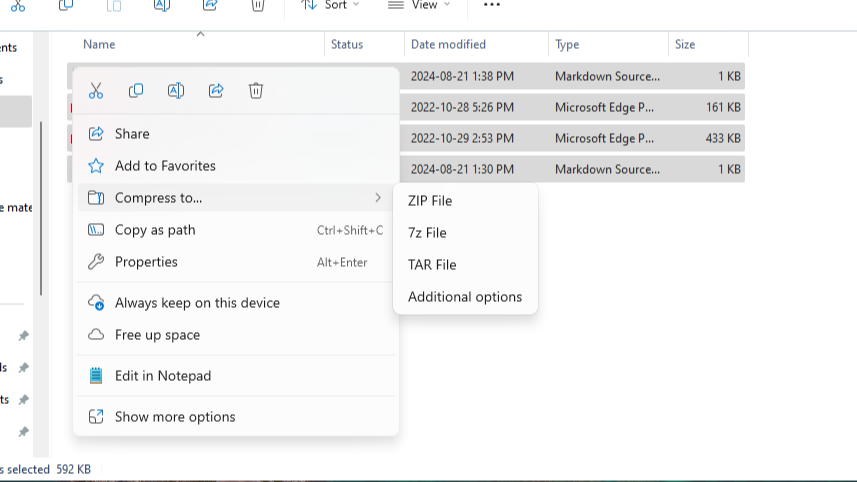
Choose "Compress to ZIP file":
- From the context menu, click on "Compress to ZIP file" (this option may also be labeled "Send to > Compressed (zipped) folder" in older versions).
- Windows will automatically create a ZIP file in the same location as your files or folders. By default, the ZIP file will be named after one of the selected files or folders.
-
Rename the ZIP File (Optional):
- If you want to rename the ZIP file, right-click on the newly created ZIP file, choose "Rename", and enter the desired name.
Method 2: Using the Ribbon in File Explorer
-
Open File Explorer:
- Open File Explorer (
Windows Key + E) and navigate to the folder containing the files or folders you wish to compress.
-
Select Files/Folders to Compress:
- Select one or more files or folders as described in Method 1.
-
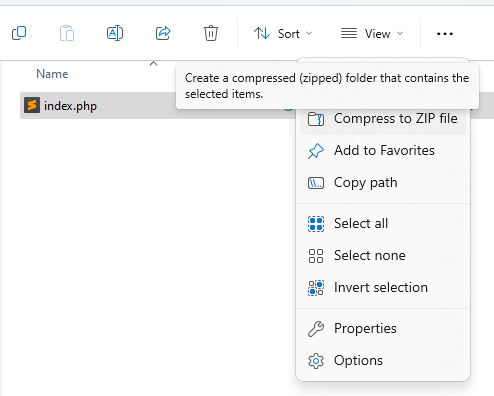
Use the "Compress" Option in the Ribbon:
- In File Explorer's ribbon at the top, go to the "Share" tab.
- Click on "Zip" in the "Send" group. This will create a ZIP file in the same location.
-
Rename the ZIP File (Optional):
- As in Method 1, you can rename the ZIP file if desired by right-clicking and selecting "Rename."
Method 3: Using 3rd Party Software (Optional)
If you prefer more advanced compression options, you can download and use third-party tools such as 7-Zip or WinRAR. Here's how to do it with 7-Zip:
-
Download and Install 7-Zip:
- Visit the official 7-Zip website and download the installer.
- Install the program by following the on-screen instructions.
-
Select Files/Folders:
- As in the previous methods, select the files or folders you wish to compress.
-
Use 7-Zip to Create the ZIP File:
- Right-click on the selected files, and in the context menu, hover over "7-Zip".
- Choose "Add to archive...".
- In the dialog that appears, select "zip" as the archive format, then click OK.
-
ZIP File Created:
- A ZIP file will be created in the same location, with the options you selected.
You can also find a video also donw on windows 10
