
Welcome Demo
Managing external storage devices like USB drives often involves assigning them specific drive letters for easier identification and access. Windows operating systems, including Windows 10 and Windows 11, allow users to modify these drive letters through a few straightforward steps. Here's a comprehensive guide on how to change the drive letter of a USB drive on both Windows versions.
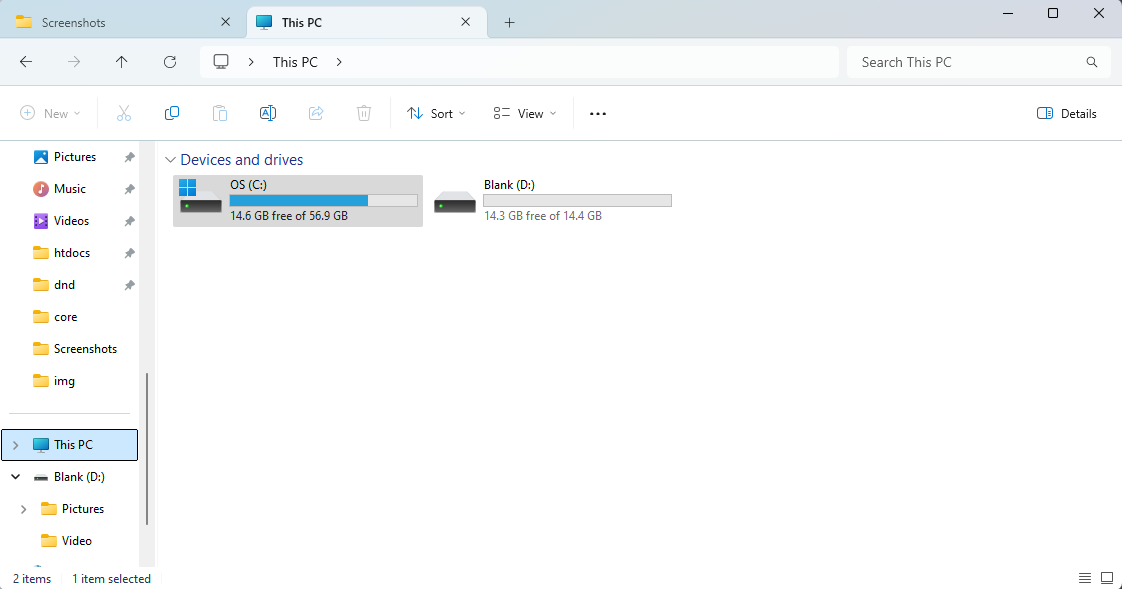
Backup Important Data: Before making any changes to drive letters, ensure you have backed up crucial data on the USB drive to prevent potential data loss.
Choose the Right Drive: Verify the correct drive before assigning a new letter to avoid modifying the wrong drive.
System Restart: Changing the drive letter might prompt a restart. Save your work before making these modifications.
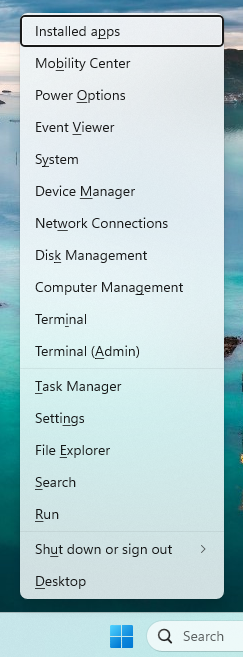
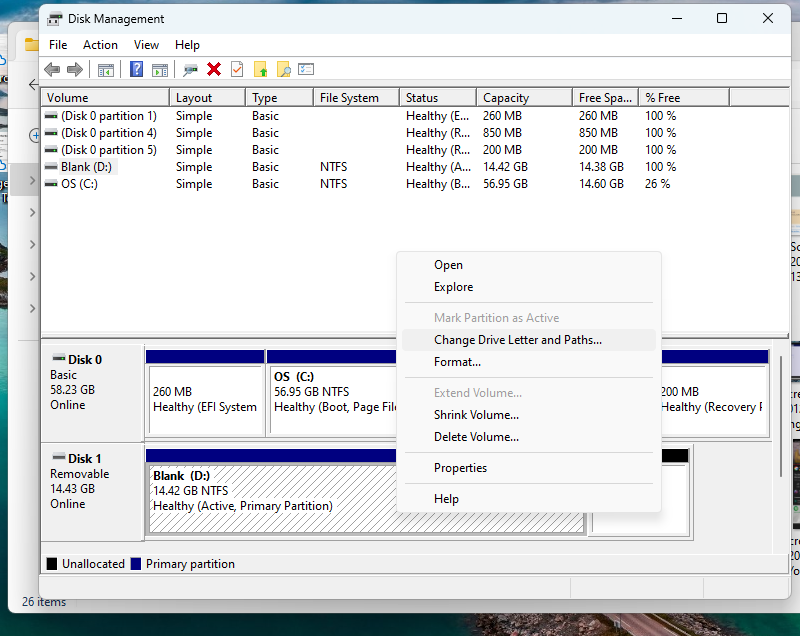
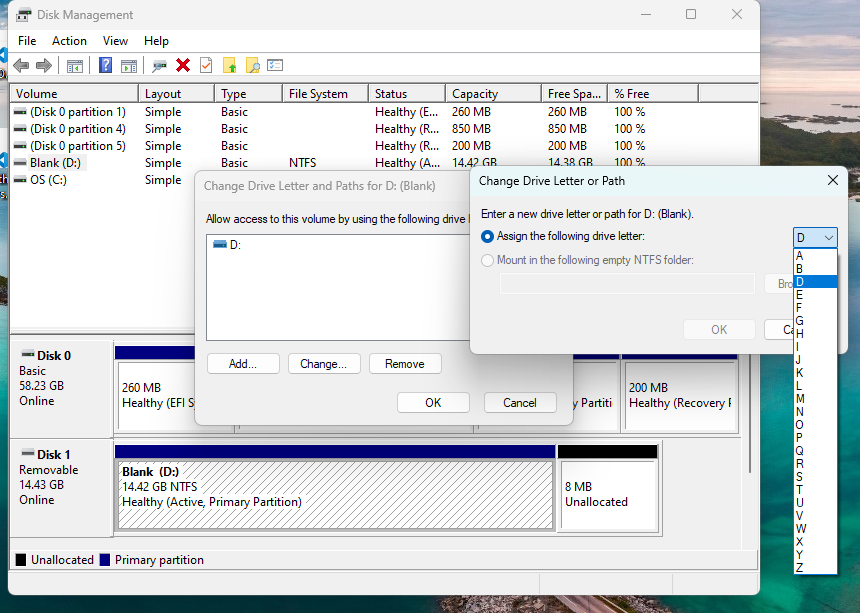
Win + X to open the Power User menu, then choose "Disk Management."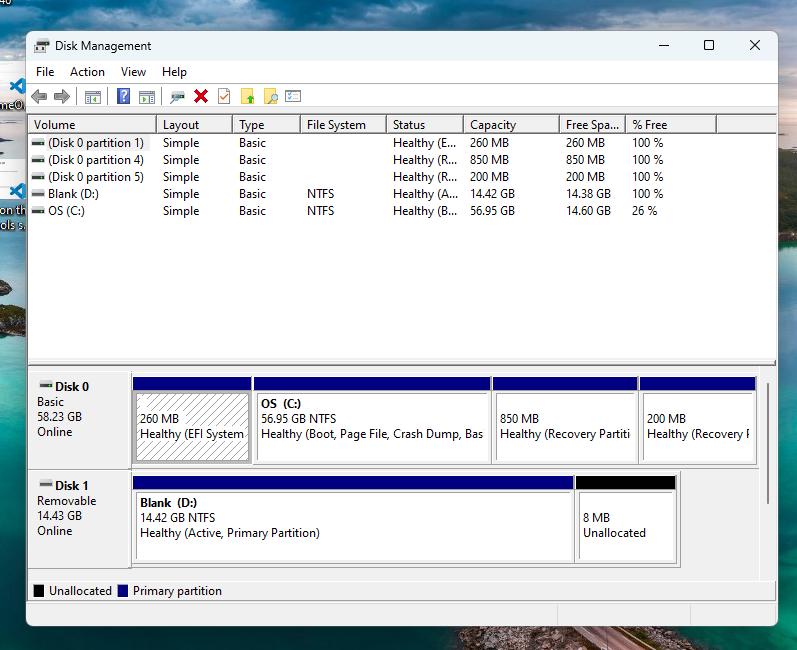
Open Command Prompt as Administrator:
Enter Diskpart: Type diskpart and press Enter.
List Available Disks: Type list disk and press Enter to display all connected drives.
Select the USB Drive: Identify your USB drive based on its size. Type select disk X (replace X with the disk number of your USB drive).
Assign a New Drive Letter: Type assign letter=Y (replace Y with the desired drive letter). Press Enter.
Exit Diskpart and Command Prompt: Type exit twice to leave Diskpart and Command Prompt.
Changing the drive letter of a USB drive on Windows 10 and Windows 11 is a simple process that can be accomplished through Disk Management or Command Prompt. It's a useful way to organize and manage external storage devices to suit your preferences and needs.
By following these steps carefully, users can efficiently customize the drive letter of their USB drives, enhancing accessibility and usability within the Windows environment.
Remember, exercise caution and double-check before making any modifications to avoid unintended consequences.
Cheers to managing your USB drives with ease on Windows 10 and Windows 11!